Here you’ll find all the info you need to succeed with one of our bundle dye kits!
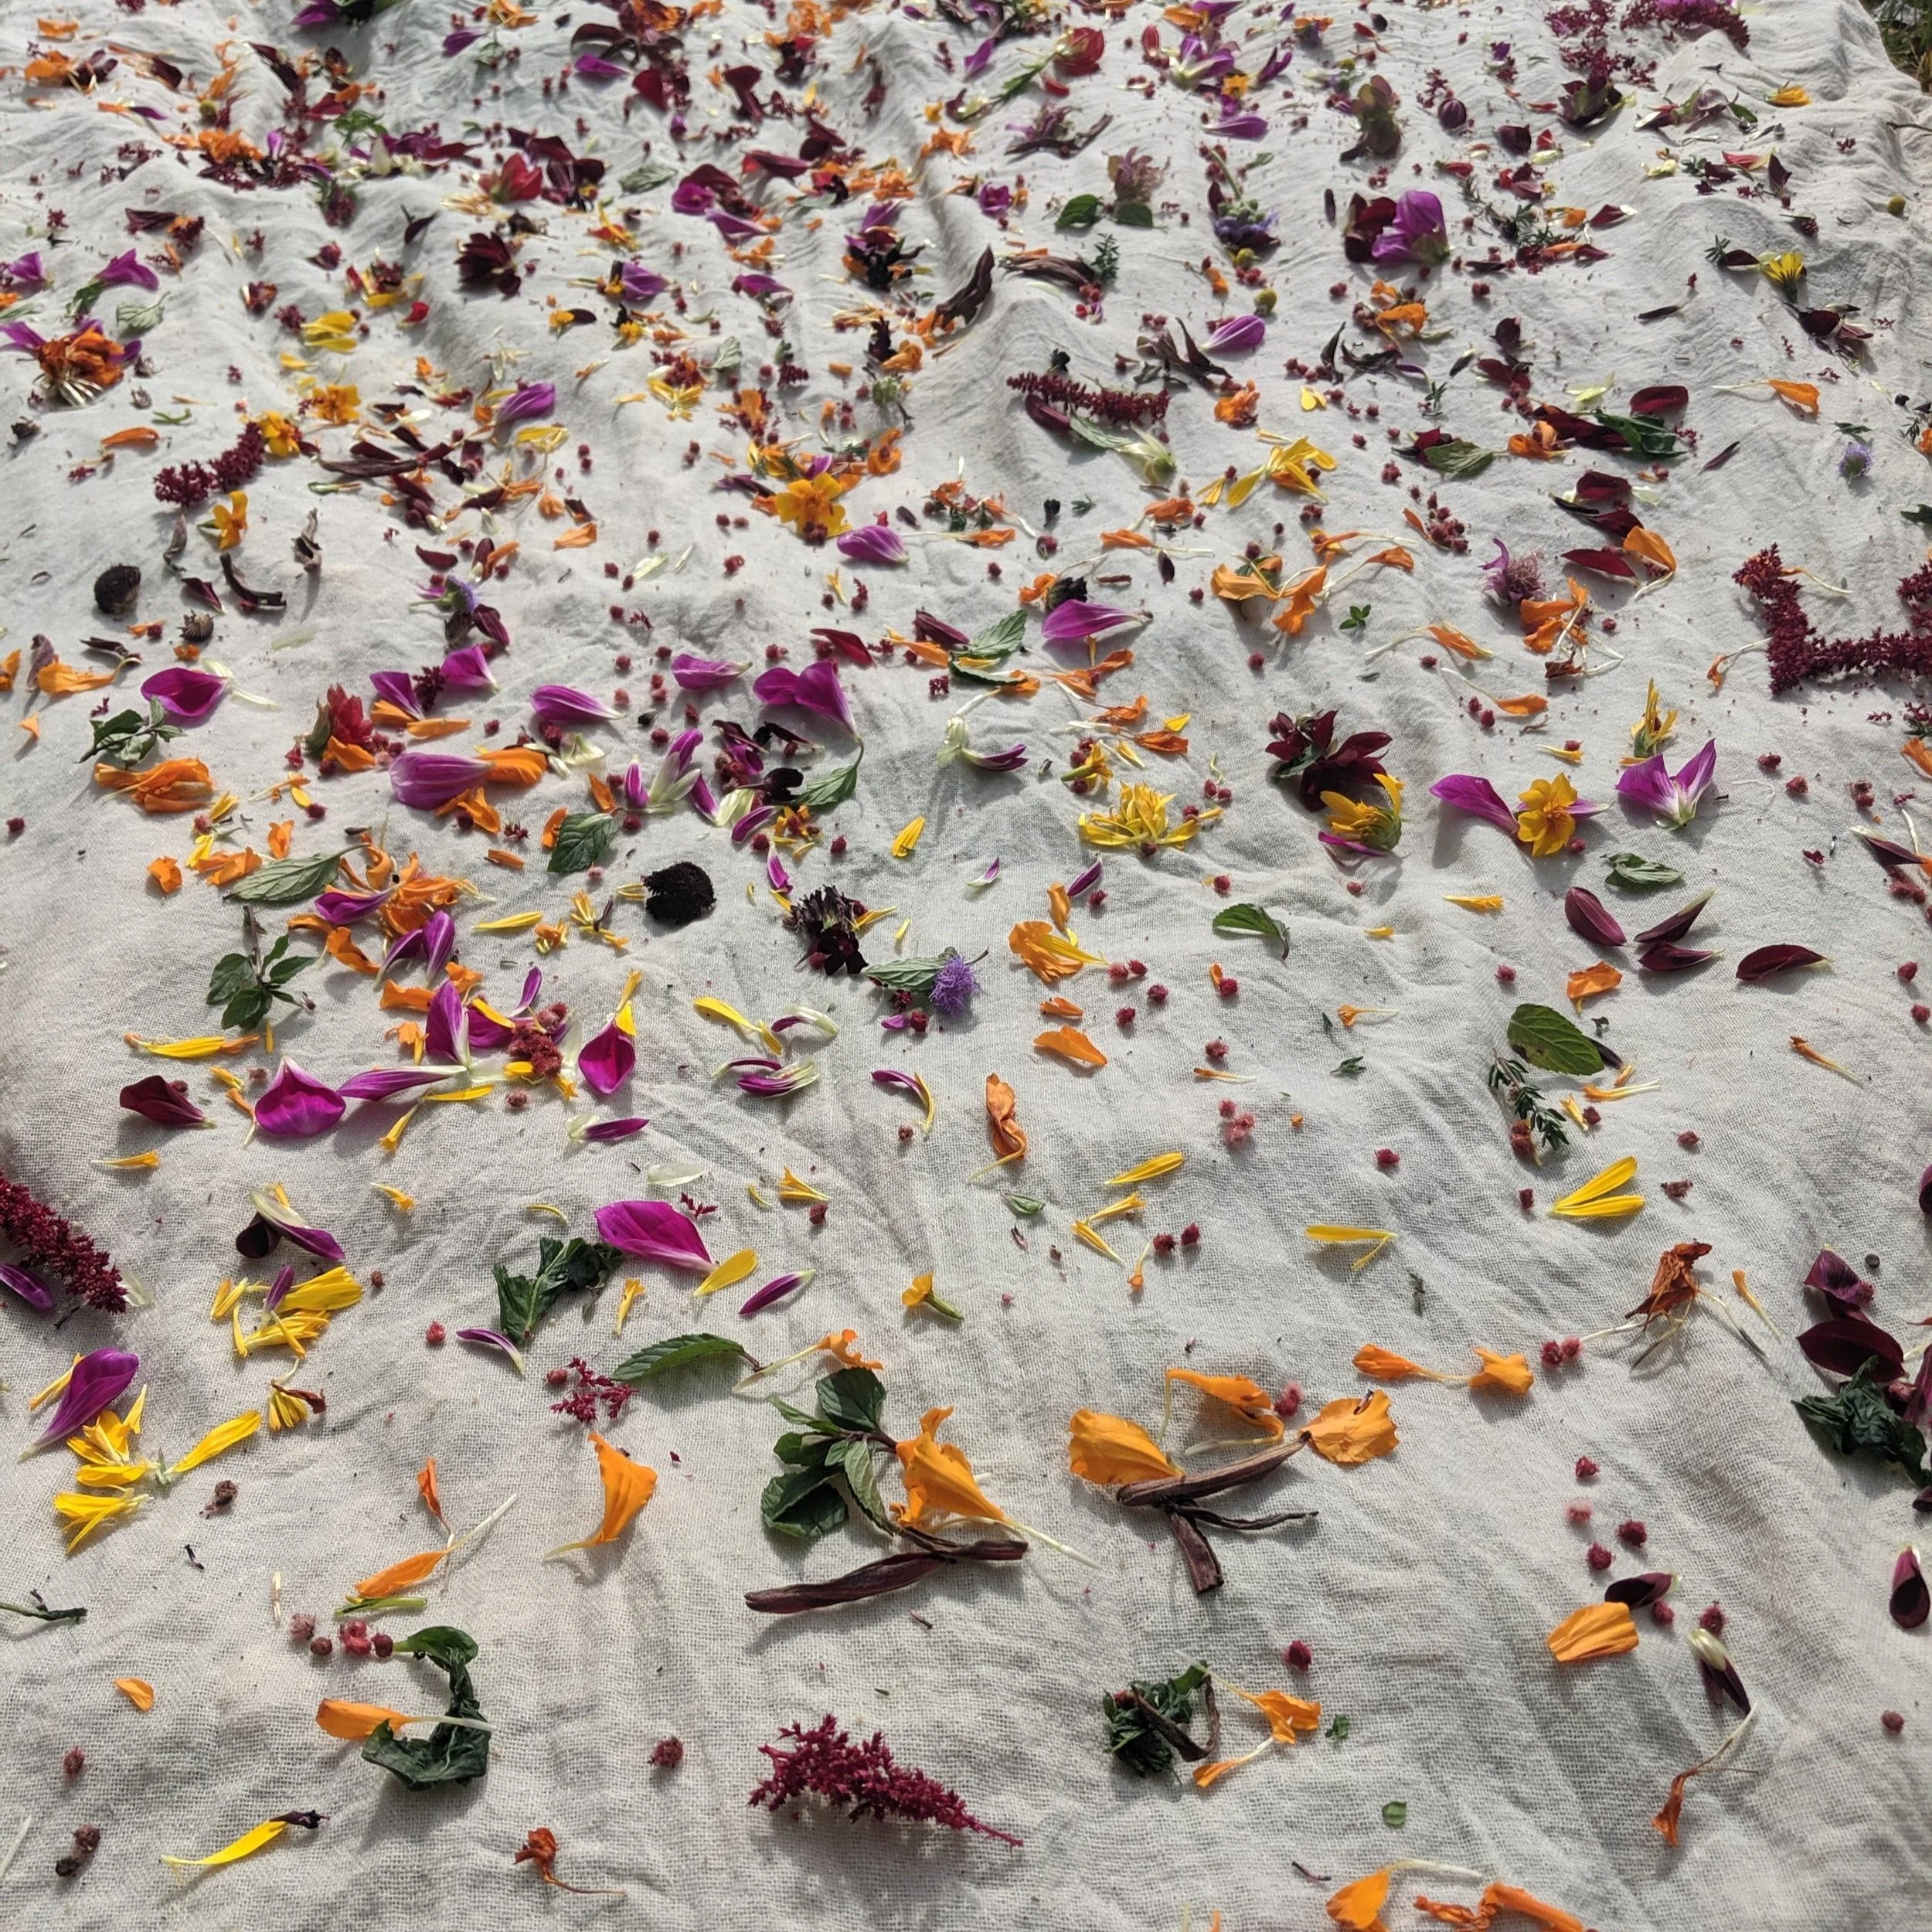
Your kit comes with a selection of dried dye plants, including sulfur cosmos, marigolds, scabiosa, and amaranth. So many plants contain color! You can supplement what we’ve provided with fresh or dried plants from your home — onion skins, cabbage leaves, dried black beans, avocado skins, and maple leaves are some of our favorites that you may find easily around your home. Bundle dyeing is one part science and three parts magic, so don’t be afraid to experiment!
We’ve provided a tote bag that is pre-mordanted - that means it’s been treated with a substance that helps the plant color bind to the fabric.
Other things you’ll need:
a pot to steam in. Ideally this would NOT be a pot that you use in your kitchen for cooking - we recommend grabbing a secondhand pot in stainless steel or aluminum from a thrift store and dedicating that to crafts. If finding a non-kitchen pot isn’t an option, read on after the steaming directions for another bundle dye technique (or - feel free to reach out to Sarah at Sarah@osamequinfarm.com, we have lots of dye pots at the farm and are very happy to lend them out!)
a strainer (again, not one you use in your kitchen), OR, some large rocks
rubber bands or kitchen twine.
a heat source (propane burner outside, kitchen stove inside, or a hot plate)
Prep step:
Soak fabric in a bucket of water for at least 1 hour to ensure it’s really wetted through.
Scatter your dye plants:
Lay your tote bag flat, and scatter your dye plants (either whole or crumbled up) across the surface. You can try to concentrate in one area or create a pattern, or just scatter evenly across the whole thing.
Roll up the fabric:
Starting at the bottom edge, begin to roll the fabric tightly like a burrito. Once you’ve rolled the whole bag and the straps onto itself, coil it onto itself into a snail, and secure - tightly! - with rubber bands or twine.
Steam*:
Get about 2 inches of water boiling on your heat source, and use either a strainer or steamer, or some large rocks in the bottom of your pot, to hold the fabric snail ABOVE the water. You don’t want it to submerge, just to get steamed. Leave for 30 minutes of up to two hours, flipping once or three times to get both sides evenly. You’ll pretty quickly start to see color seeping through as the hot steam releases the dye from the plants.
Unwrap:
Carefully, it will be hot! Shake out your bundle (outside! it’s going to drop a lot of debris!). Give it a gentle rinse to release the plants from the fiber, and then let your bag air dry to cure. Wash sparingly for longest life span - wait at least a week before the first wash to let the colors set.
*Non-heat options -
A slower process, but still very fun! One option is to bury your bundle in a compost pile (a small one is fine!) and let the heat of decomposition dye the fabric. You’ll need to wait at least a month or more for this method.
Another option is to put your bundle and some water in a clear glass jar, seal it and put it in a sunny window, then wait a few weeks. This will produce a slightly different look than streaming because it’s submerged in water, but it will be just as beautiful.


